What mudjacking is
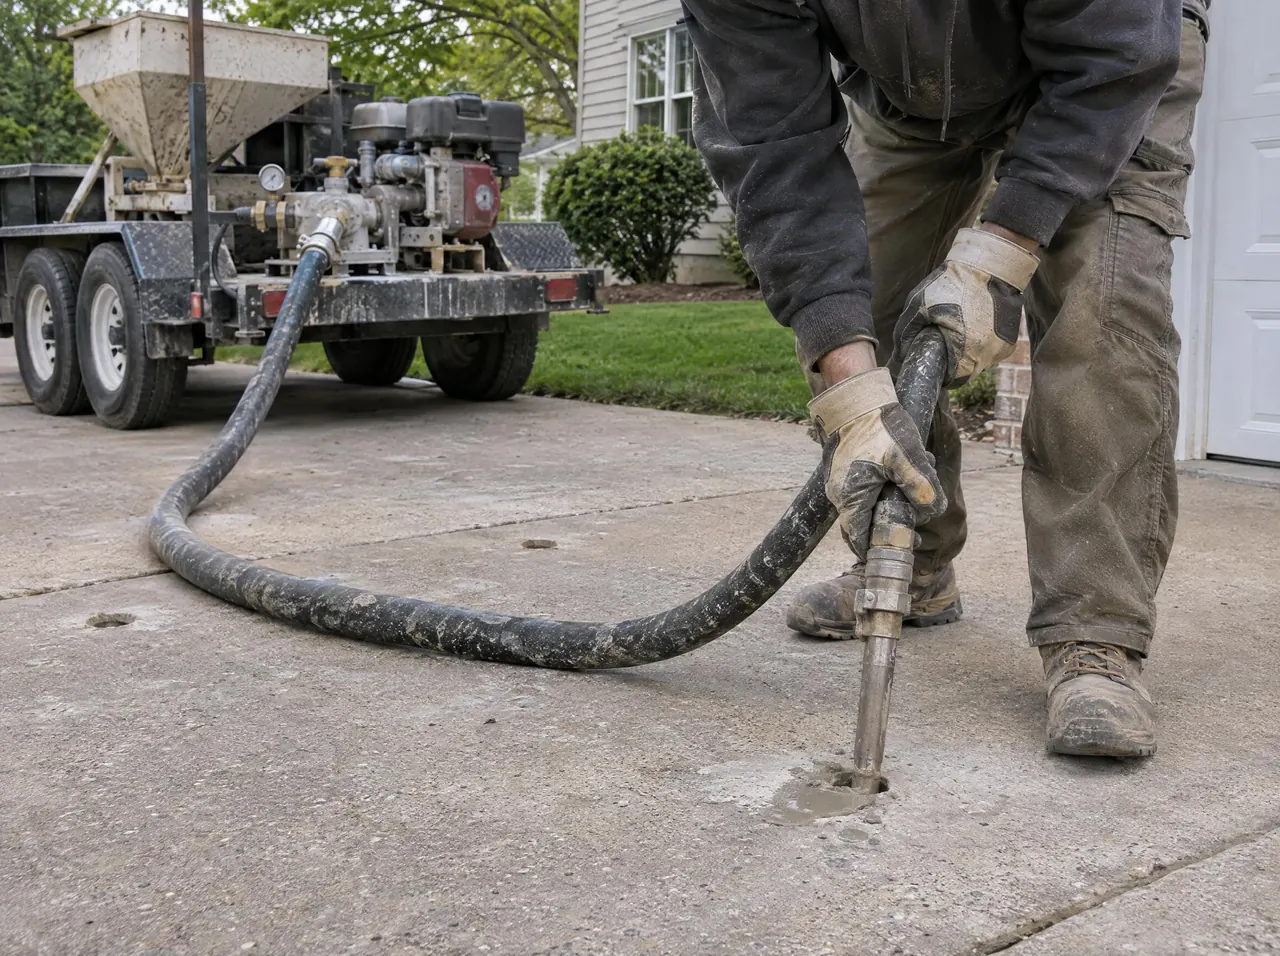
Mudjacking is the long-standing way to raise sunken concrete without replacing it. A pump pushes a cement-based slurry through holes in the slab. The slurry fills the empty space first, then builds pressure underneath until the panel lifts. Once it sets, the hardened fill supports the slab where the soil used to.
The trade has several names for it. Slabjacking and concrete raising with slurry both point to the same process. The mix itself varies by contractor: portland cement combined with sand, soil or ground limestone and water, thick enough to carry weight and thin enough to pump.
We offer mudjacking in Denver alongside polyurethane foam, and the crew decides which one fits each slab. This page covers how the slurry method works and the honest tradeoffs.
How concrete raising with slurry works
The setup is a mixer and pump, usually on a trailer, with a heavy hose running to the slab. After measuring how far the panel has dropped, the crew drills holes roughly 1 to 2 in across, in a pattern that reaches the low side and the void.
A nozzle seats in the first hole and slurry goes in. On a tipped panel the crew moves between holes to steer the lift, bringing the low side up without overshooting the high side. Someone watches the surface the whole time; slurry under pressure can raise a slab faster than you'd expect once the void is full.
When the panel is level with its neighbors, the holes get packed and patched with a cement mix. Then the slab sits. Slurry needs more curing time than foam before it can take vehicle traffic, and joints get sealed once the slab is back in use.
Mudjacking vs foam, side by side
Here's how the two methods compare on the points that usually decide a job.
| Factor | Mudjacking (cement slurry) | Polyurethane foam |
|---|---|---|
| Hole size | Roughly 1 to 2 in | About 5/8 in |
| Weight added under the slab | Heavy; the fill is a cement mix | Very light |
| Back in use | Needs curing time before vehicle traffic | Usually foot traffic the same day |
| Material cost | Usually lower | Higher per unit of volume |
| Large voids | Fills big spaces at lower material cost | Works, but material cost climbs quickly |
| Look of the patches | Larger circles, more noticeable on decorative finishes | Small circles |
| What goes under your slab | Cement, aggregate or soil and water | A two-part polyurethane plastic |
For a closer look at the other side of this comparison, our page on polyurethane foam lifting walks through that method step by step.
Want both methods priced for the same slab? We'll measure it and explain which one we'd use.
Request an estimateWhere slurry still makes sense
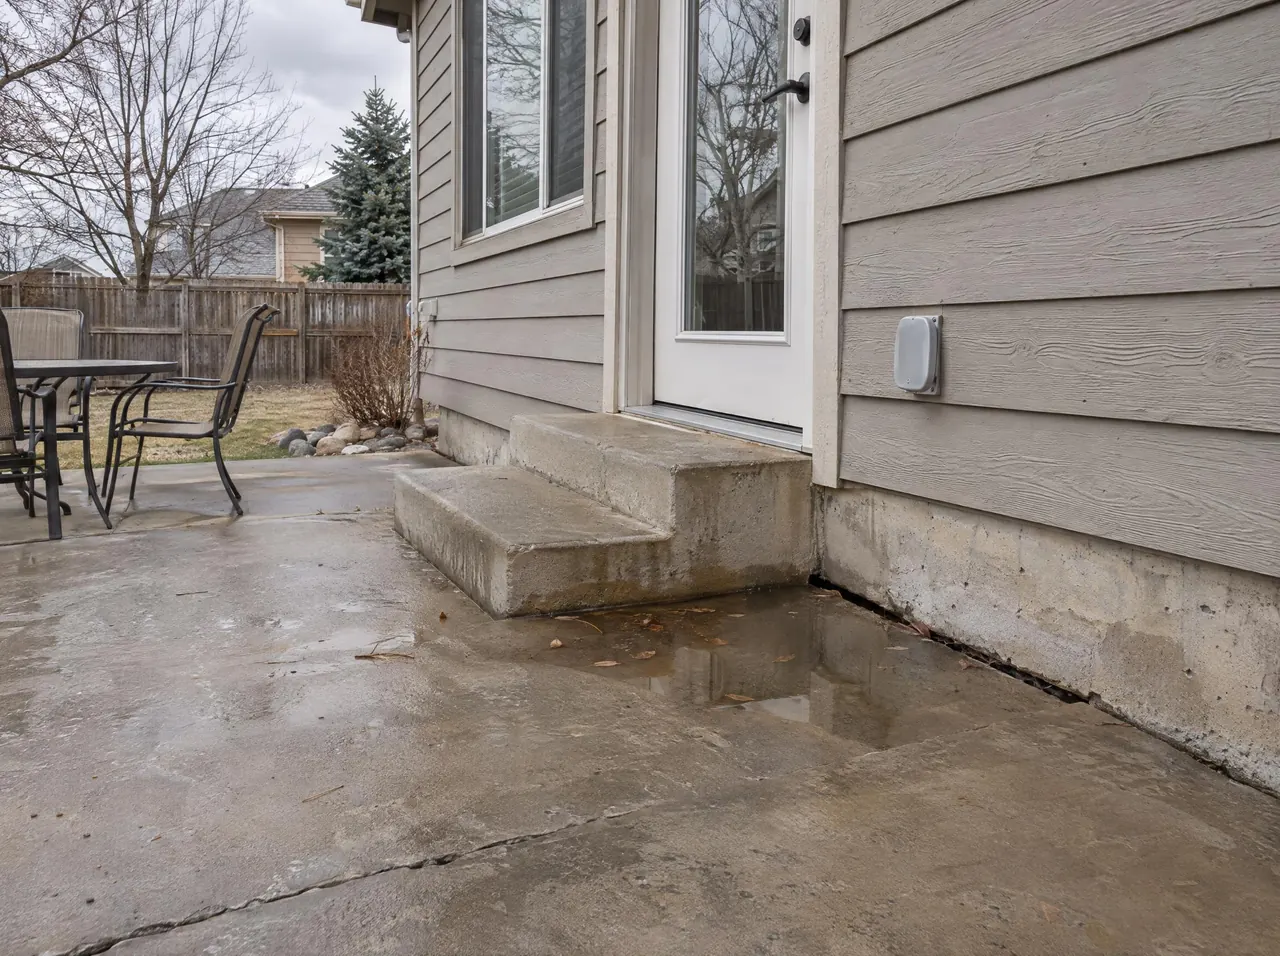
Cost is the obvious one. Slurry is cheaper material, and the gap matters most when the hole under the slab turns out to be big. A patio that has dropped along its whole length, or a slab over a deep washout, can swallow a lot of material.
Some owners also prefer a mineral fill under their concrete, and slurry is cement, aggregate and water. And when a slab can sit unused for a while after the lift, the longer cure doesn't cost anything.
Typical slurry jobs are outdoor slabs with good access for the pump: a sunken patio or porch slab, or a long run of public sidewalk panels with trip hazards where the panels can stay coned off while the slurry cures.
The tradeoffs to weigh
Slurry is heavy. If a slab dropped because the soil under it was soft or saturated, piling a dense fill onto that same soil adds load to the layer that already gave way. On those sites we lean toward foam.
The bigger holes are the other cost. On plain gray concrete the patches blend fairly well. On colored, stamped or exposed-aggregate finishes they stay noticeable.
Indoor work is awkward too. A slurry pump, hose and mixing setup are hard to bring into a finished garage or basement cleanly, so interior slabs almost always go to foam.
Neither material fixes a slab that's shattered, heaved up by a tree root, or moving with a foundation problem. Those need replacement, root work or a structural engineer, and a good contractor of either method will say so.
Getting a slab ready for slurry
A little prep on your side makes a slurry job go smoother, mostly because the equipment is bigger and the cure is longer.
- Clear a path for the hose from the street or driveway to the slab.
- Flag sprinkler lines, low-voltage lighting and buried pet fence wire near the slab edge.
- Move cars, planters and furniture off the panels being raised.
- Plan where vehicles will park until the slurry has cured.
- Turn off irrigation that sprays the work area.
When we pick slurry over foam
We price mudjacking when most of these line up: the slab is outdoors with room for the pump, the void looks large, the soil is reasonably firm and dry, the surface is plain concrete, and the owner can keep traffic off it while the slurry cures. If the void is small, the soil is wet, or the slab has to be back in use today, foam usually wins.
Neither method wins every job. Slurry trades speed and weight for lower material cost, and on the right slab that's a good trade. If a hollow slab hasn't dropped yet, void filling may be all it needs. Our job process page shows what a visit looks like, and you can check the cities we cover along I-25.