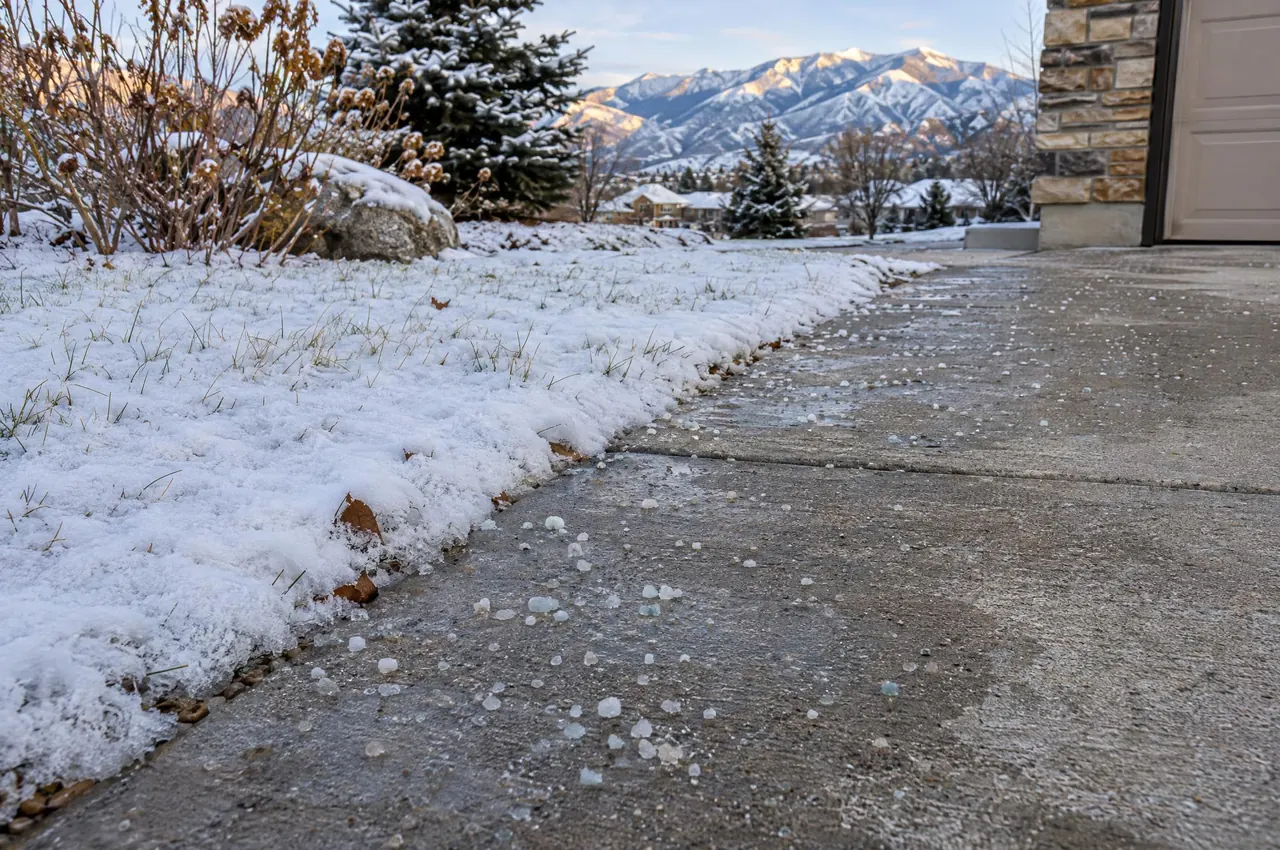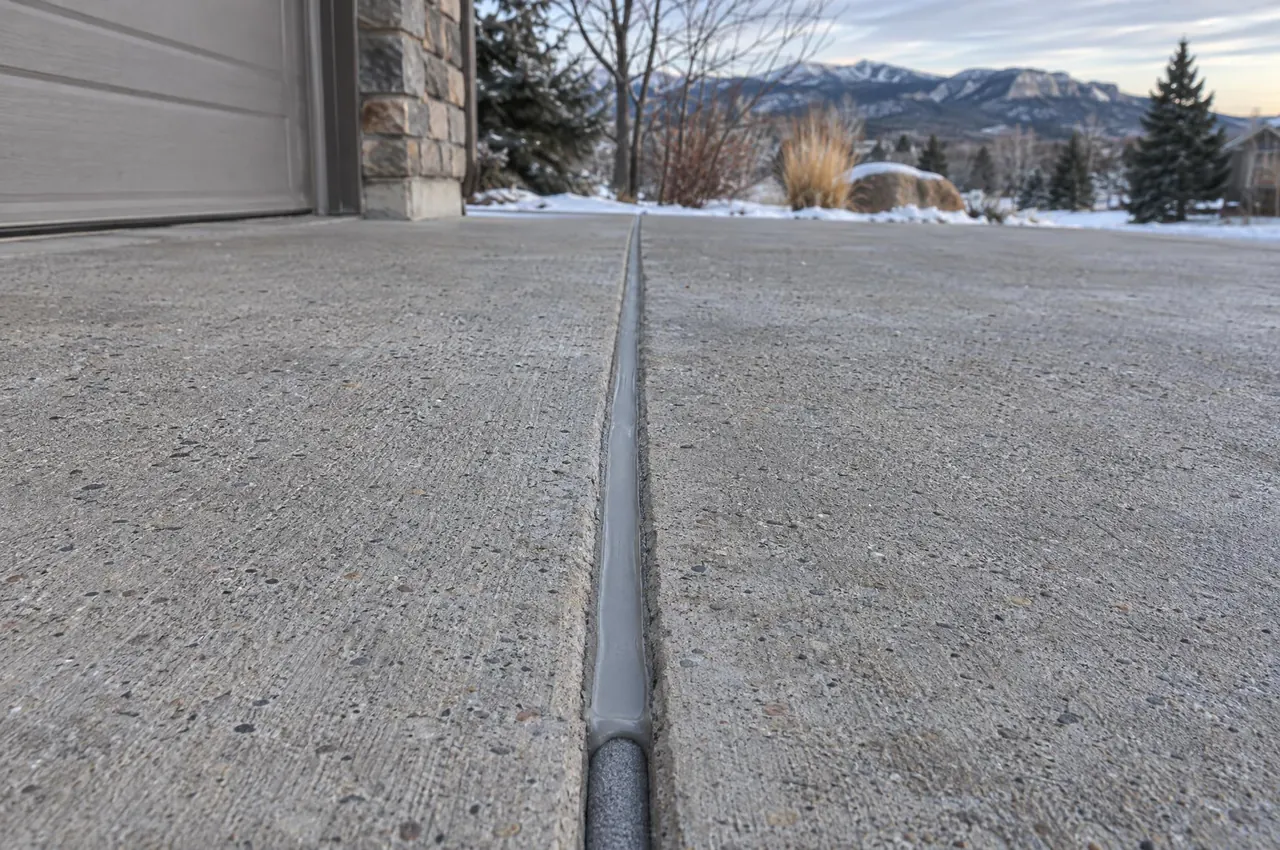
Concrete joint sealing before winter is one of the simplest ways to keep water out from under your slabs during the months when that water does the most damage. On the Front Range, November usually marks the start of steady freeze-thaw cycles. Snow melts in the afternoon sun, runs into open joints, soaks the soil below and freezes again overnight. A joint filled with flexible sealant sheds most of that water across the surface instead. The window to do the job well closes once nights stay cold and slabs stay damp, so plan it for the first dry, mild stretch you get this month.
Seal on the warm side of the freeze line
Every joint sealant has temperature and moisture limits printed on the manufacturer's data sheet. Most want a dry joint and a slab that isn't close to freezing during application and the early part of the cure. Concrete holds cold. A slab that sat under frost overnight can still be too cold at noon even when the air feels pleasant, so check the surface, not the thermometer on the porch. Midday on a sunny day after a dry spell is the target, with no precipitation in the forecast that night.
The other reason not to wait: an open joint now means wet soil under the slab edges all winter. Expansive clay, common along the Front Range, swells when it soaks up water, and fill that gets saturated over and over is more likely to settle. Sealing won't undo settlement that has already happened, but it cuts off one of the main water sources that causes it.
Run this checklist before you open a tube
- The slabs on both sides of each joint sit level with each other. If one side has dropped, it gets leveled first.
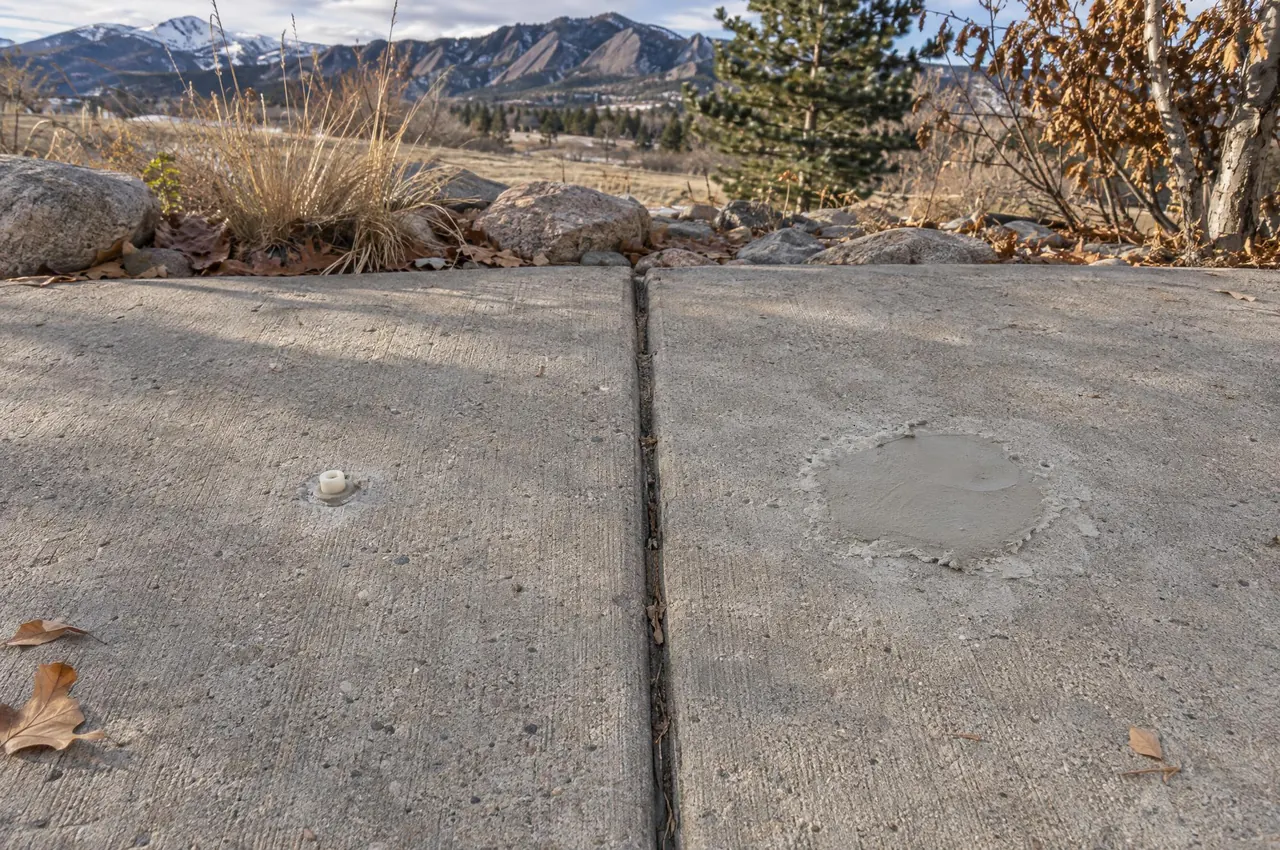
- The joint is wide enough to take backer rod and sealant. Hairline cracks are a different repair.
- No recent rain or snow, and none forecast before the sealant skins over.
- The concrete surface is above the minimum application temperature on the sealant's data sheet.
- You have the right product: self-leveling sealant for flat joints, non-sag sealant for sloped or vertical joints.
- Closed-cell backer rod sized slightly wider than the joint, plus a blunt tool to press it in.
- Cleaning gear: a hook tool or utility knife for old material, a wire brush, and a blower or shop vac.
- Painter's tape if you want crisp edges on a visible patio or front entry.
Step-by-step: sealing a control joint
Step 1: Level any sunken panel first
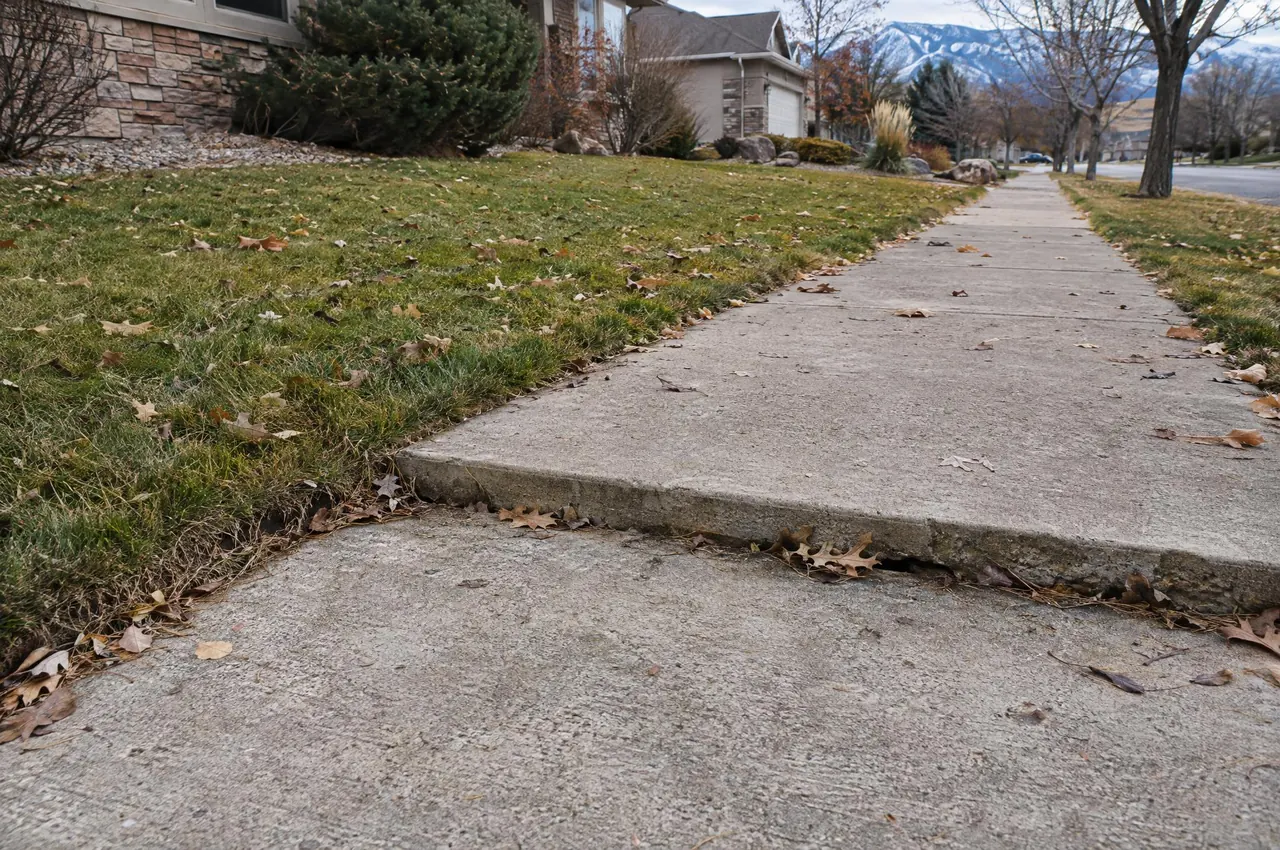
Sealant is designed to stretch and compress a little as concrete expands and contracts. It isn't designed to bridge a lip. If one panel of a driveway or walk has dropped and you seal first, the bead tears the moment that panel is lifted, and you end up sealing twice. Get uneven panels raised with sidewalk and slab leveling, then seal once everything is back in plane. Leveling also fills voids under the slab, so the new sealant sits over supported concrete.
Step 2: Remove old sealant and debris
Dig out cracked or loose sealant, weeds, sand and anything else packed into the joint. New sealant rarely bonds well to old material of a different type, so when in doubt, take it all out down to clean concrete on both faces.
Step 3: Clean and dry the joint faces
Sealant grips the two side walls of the joint. Dust, efflorescence and moisture on those walls are the usual reasons a bead peels loose by spring. Wire brush both faces, then blow out or vacuum the dust. If the joint is damp, wait for it to dry.
Run a fingertip along both faces of a cleaned joint. If it comes back dusty, clean it again. Adhesion failures almost always trace back to this step rather than to the sealant.
Step 4: Install backer rod
Press closed-cell backer rod into the joint so it sits snug at a consistent depth. It does two jobs. It sets how deep the sealant goes, which matters because an overly thick bead can't stretch well. It also keeps the sealant from bonding to the bottom of the joint. A bead stuck on three sides tears as the joint opens in cold weather; one stuck only to the two side walls can flex. Use the sealant data sheet for the recommended depth relative to joint width. Don't puncture the rod, because a punctured closed-cell rod can release gas that blisters the sealant.
Step 5: Apply the sealant
Cut the nozzle to suit the joint width and push the bead ahead of the nozzle in one continuous pass, filling from the rod upward so air doesn't get trapped. Self-leveling sealant flattens on its own in a level joint. Keep the finished surface slightly below the concrete so shovel and plow blades ride over it instead of catching an edge.
Step 6: Tool it, then leave it alone
Non-sag sealant needs tooling: press it firmly against both side walls and shape a slight concave surface. Pull any painter's tape right after. Keep feet, pets and tires off the joints for the cure time listed on the label, and cover them if an unexpected shower moves in before the sealant skins.
Have dropped panels and open joints you want handled in the right order before winter sets in?
Request an estimateKeep these materials out of your joints
A joint is there because the concrete moves. Whatever fills it has to move too, shed water and hold up to sun and traffic.
Mortar, grout and concrete patch are rigid and crack loose as the slabs shift. Interior acrylic or latex caulk isn't built for sunlight, standing water or foot traffic. Roofing tar and asphalt patch soften in summer heat and track onto shoes and floors. Spray foam insulation isn't a traffic-rated sealant and breaks down in sunlight. Rigid epoxy is too stiff for a working joint. Sand or pea gravel on its own lets water straight through.
Decide which joints and cracks get sealed
| Location | Seal before winter? | Why |
|---|---|---|
| Control joints in driveways, walks and patios | Yes | The main path for meltwater into the base below. |
| Joint where a slab meets the house foundation | Yes, first priority | Water here runs down along foundation backfill, which is often loosely compacted. |
| Expansion joints with deteriorated fiber filler | Usually | Remove the failed filler to make room for rod and sealant. |
| Joint between a sunken panel and a level one | Not yet | Level first, then seal. |
| Wider cracks in a stable slab | Often | Treat like a joint if it accepts backer rod. |
| Concrete broken into many pieces | No | Sealant won't hold; talk to a concrete contractor about replacement. |
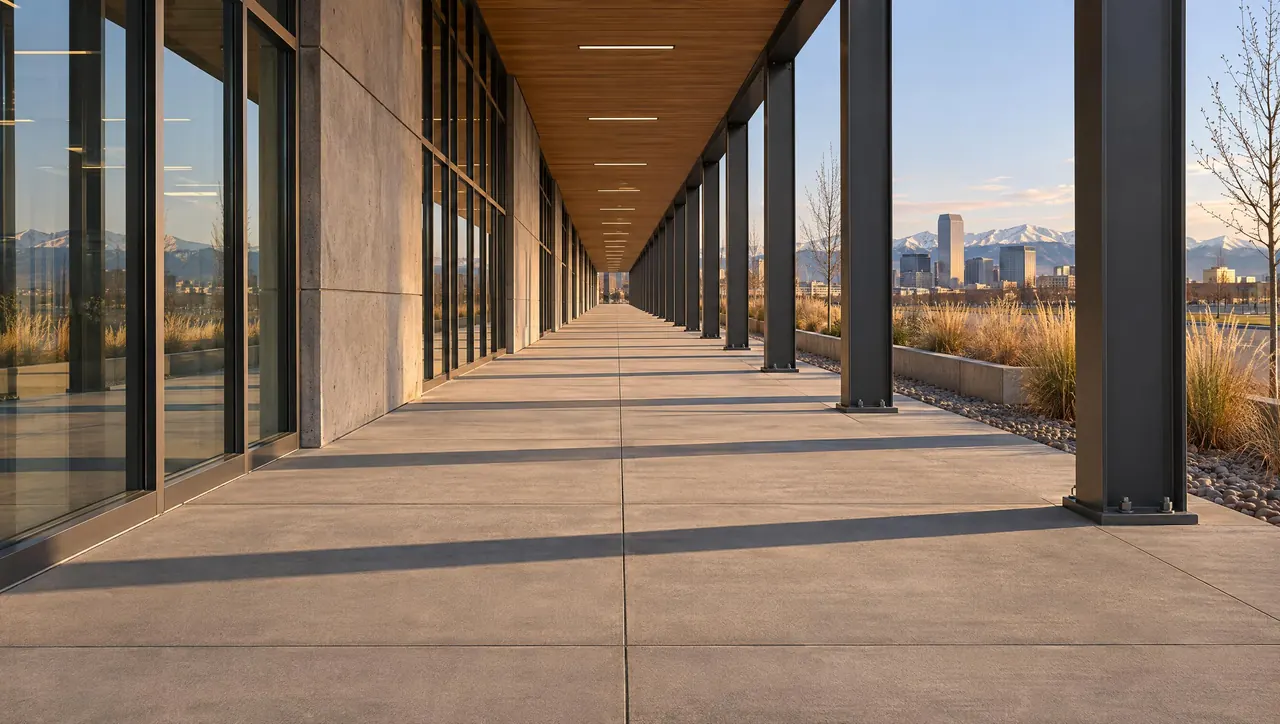
Joints around pool decks, garage aprons and commercial walkways follow the same logic. Our concrete joint and crack sealing work starts with the same questions: is the slab stable, is the joint clean and dry, and is the weather cooperating.
Pick your next move based on conditions
Level first, clean thoroughly and use a flexible sealant over backer rod. A joint sealed on a cold, damp day tends to fail by spring, so if you miss the window, waiting for a dry spell beats rushing the job.